
Philips
GU10 LED Spot Master Value
-
4.9W
-
365 lm
-
3000K
-
Dimmable
-
White
3,95
Spots are indispensable for functional lighting and to highlight accents. They produce a focused beam of light, making them versatile: from living rooms and kitchens to shops and offices. Choosing the right spot requires knowledge of the different types, power requirements, and installation options.


Spots come in many forms, each with its own features and suitability for specific uses. Below, we explain the most common types.
GU10 spots are widely used and recognizable by their two thick pins spaced 10 millimeters apart. These spots work directly on 230V mains voltage, so a transformer is not needed. This makes installation easy: the spot is pushed into the fixture and twisted a quarter turn to secure it. The GU10 is a popular choice for general ceiling lighting and accent lighting.
MR16 spots, with a GU5.3 base, and MR11 spots, with a GU4 base, are characterized by their two thin pins spaced 5.3mm and 4mm apart, respectively. These spots operate on a low voltage of 12V, which means they always require a transformer to convert 230V mains to 12V. Installation involves simply inserting the pins into the fitting.
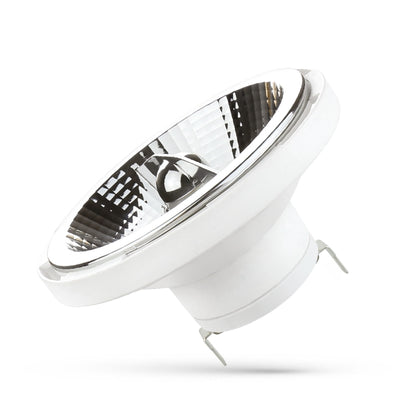
AR111 spots, with a G53 base, are larger spots with a diameter of around 111 millimeters and two flat pins. Just like MR16 and MR11 spots, AR111 spots operate on 12V low voltage and thus require a suitable transformer. They are known for their high light output and the ability to precisely aim the beam, often with a narrow beam angle.
Recessed spots are fixtures that are discreetly placed in a ceiling or wall, creating a sleek and modern look. They can come with an integrated LED light source or with a separate fitting (such as GU10, GU5.3).
| Aspect | Explanation |
|---|---|
| Integrated LED | These spots have the LED light source built into the fixture. When the lamp reaches the end of its lifespan, the entire fixture is replaced. This system is energy-efficient and offers a long lifespan. |
| Fixtures with loose fitting | Here, you place a loose spot (for example GU10 or GU5.3) in the fixture. This provides flexibility in choosing color temperature, brightness, and dimmability. The lamp can be easily replaced without dismantling the whole fixture. |
| Cut-out size and installation depth | The cut-out size (diameter of the hole in the ceiling) and installation depth (space behind the ceiling) are crucial dimensions for correct installation. Always check these carefully before drilling holes. |
| Tiltable or fixed | Many recessed spots are tiltable, allowing you to direct the beam toward an object or wall. Fixed spots give a constant light direction. |
| IP rating | For damp areas such as bathrooms or covered outdoor areas, the IP rating is important. Choose at least IP44 (splash-proof) for protected zones and IP65 (jet proof) or higher for directly exposed areas. |
Besides the spots themselves, the right installation material is essential for safe and functional lighting.
The fitting is the connection between the spot and the fixture, and thus the power supply. The most common fittings for spots are GU10, GU5.3, GU4, and G53. Make sure the spot fitting matches that of the fixture.
For 12V spots (such as MR16, MR11, AR111), a transformer is necessary to convert mains voltage. For LED spots, a "LED driver" or "electronic transformer" suitable for the minimum load of LED is crucial. Always check the manufacturer's compatibility chart to avoid flickering or defects.
If you want to adjust the light intensity of your spots, dimmable spots combined with a suitable LED dimmer are needed. Conventional dimmers are often not suitable for LED and can cause unstable dimming or lamp damage. Choose an LED dimmer that works with leading edge or trailing edge, depending on the specifications of the LED spot. Watch for the dimmer’s minimum and maximum connecting load.
A careful approach is important for both the functionality and safety when installing spots.